 |
| I have had my Yogotherm for several years. |
 |
| Ingredients, that's it. |
 |
| Directions |
It doesn't matter if you are making yogurt, kefir or cheese the Yogotherm Yogurt Incubator has you covered. It's easy to use and easy to clean. No electricity needed. It is perfect for off grid living. It will save you money on groceries and on your power bill.
Did you know that you can make yogurt from powdered milk? I have made yogurt with powdered milk using the Yogotherm. It is the same process as using fresh milk. For those of us who live way out and fresh milk isn't at our fingertips without a huge trek to town it's a great alternative.
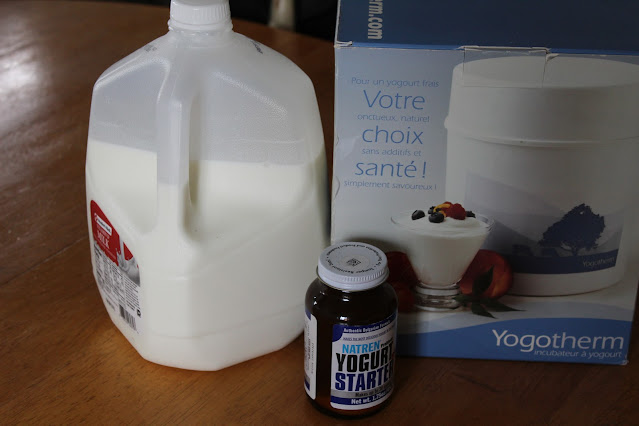
Ingredients:
2 Quarts Milk - fresh, powdered, canned or milk alternatives)
3 Tbs Plain Yogurt or 2 Tbs Yogurt Starter (If using milk alternatives, use more yogurt solids or yogurt starter)
Instructions:
Heat milk slowly to 180 degrees. Do not boil. This will take some time. I used a diffuser, because my stove cooks hot. It does not know the meaning of low. Hold at 180 degrees for 5 minutes. Let milk cool to 108-112 degrees. Add yogurt or yogurt Starter to a cup of cooled milk. Stir until it is completely incorporated. Then add to the rest of the cooled milk stirring until it is completely incorporated throughout the milk. Pour the yogurt mixture into a Yogotherm or other type of insulated container. I have seen it made with a small ice chest, mason jars and towels for insulation. Let sit for 8-12 hours. I let mine sit overnight. For best results chill before serving. Serve plain or add fresh or dried fruits, preserves, granola or sweeteners such as honey to yogurt before serving.
I save out about 3-4 Tbs of yogurt in a separate glass dish to use as the starter for my next batch of yogurt. If I don't have a starter I use the powdered Yogurt Starter or I have used a quality plain yogurt from the grocery store as a starter. Just make sure that it doesn't have fillers or additives if you use this technique.
 |
| Slowly heat the milk. I cannot stress enough the importance of not letting the milk boil. |
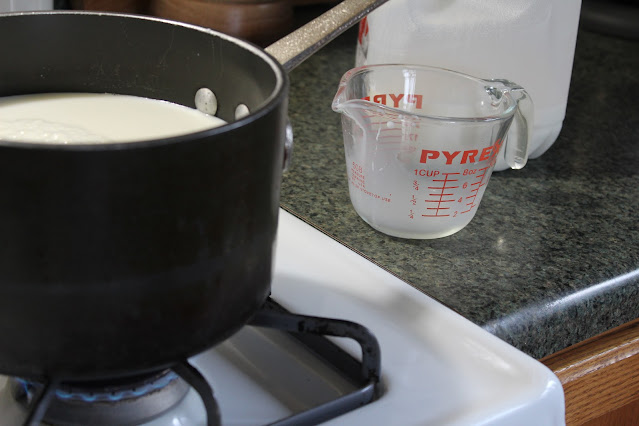 |
| Once my milk starts getting closer to 150 degrees I use a diffuser to prevent boiling the milk. |
 |
| This is the Yogotherm. Simple and basic. Perfect for off grid yogurt and cheesemaking. My house stays really cool and the Yogotherm works year around. |
 |
| The Yogotherm is insulated very well. |
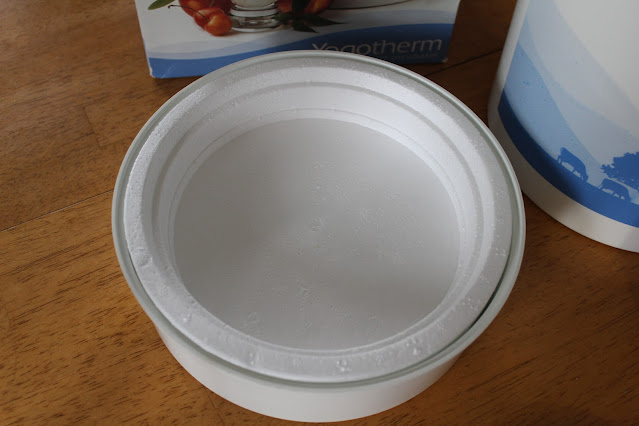 |
| This is the insulated lid. |
 |
| My yogurt mixture is ready to go into the Yogotherm. |
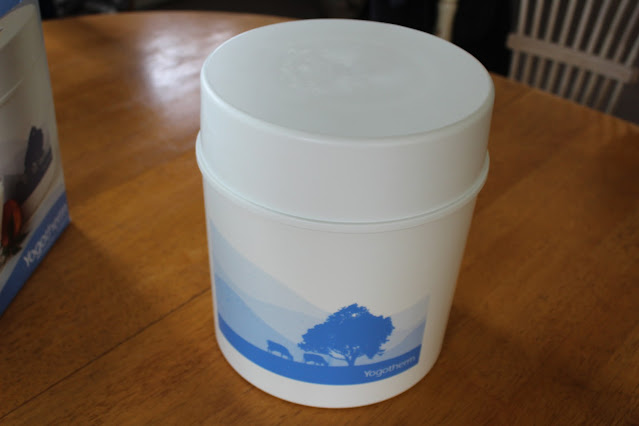 |
| That's it. Now wait 8 hours or overnight. |
 |
| Viola! Healthy homemade yogurt. |
 |
| This is my starter for my next batch. |
Shalom,
Mrs. Smith


No comments:
Post a Comment